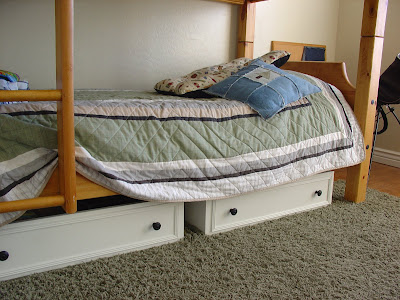
I have been working on a project to add to Whitney and Ashley's I Made it Without my Hubby project...but it is not quite finished yet:( I am still working on it...so check back soon.
Anyway...I REALLY want to win the pink hammer at Shanty 2 Chic, SO I am going to enter this project that I did without my Hubby last year.

We call this our Wall of Fame. It is an old window frame that I bought from a friend. One of the panes was broken, so I broke the other out replaced the glass with sheet metal to create a magnet board. My boys LOVE to check out their pictures, awards and tests on the wall.
I used my hubby's tin snips to cut the metal to the size of the openings and stuck it on with liquid nails. I sanded off the loose paint on the window frame and left the rest 'as is' and I love it!
Edited to add: I forgot to mention before...we also use this as a dry erase board...you can see a few red words that were wiped off, but never really cleaned...oops should have done that before I took the picture, but no time now. We are off to soccer practice.
Go check out the other fun projects at the I Made it Without my Hubby party.

 We have been in need of a dresser for awhile now! We had an old one that was falling apart. Part of the drawers wouldn't come out and part would not go in. Since we can't afford a new dresser now and I haven't been having much luck finding one at a yard sale....I decided to re-purpose the one that we had. I pulled out the four drawers and went to work on two of them(I am going to do something a little different with the other two for another room).


